Pages

Showing posts with label DIY. Show all posts

Saturday, May 31, 2014

It's Almost Time to Meet Ben!

Dear Ben,

It is almost time to meet you! The time has just flown by. Daddy and I have been really busy...Daddy's been working a lot lately. I just finished up teaching for the summer break but now it is "baby time." You have been moving a lot, but I can tell you are running out of room...it's okay little guy, you will have plenty of room to stretch out in your beautiful nursery when you decide to make your debut!
At my last appointment, everything was measuring perfectly. Dr. W. decided to schedule you to be induced on Monday, June 9th (that is if you don't come on your own in the next week.) 
I can't wait to see you...Will you have brown hair? Blonde hair? or even Red Hair? Blue eyes? Brown eyes? Curly hair? Straight hair? Will you be fair skin like mommy or tan like daddy?

Either way you are...You are fearfully and wonderfully made! God has created you for a purpose.

Here is your precious nursery. The room we created just for you! My favorite thing about your nursery is all of the handmade items. You are our little American Superhero and we will see you in 9 days or less. We love you to the moon and back!

Love,
Daddy & Mommy

 Flag Made by Mommy
(I used paint we had at home and wooden stars from Hobby Lobby. The other wood
is from Home Depot. This is a "knock off" from Pottery Barn.)

 The bible verse was made by Liz at Burlap & Lovely.
The clock is from Francesca's.

I modpodged old comic book clippings to make this light plate cover.

 Your little superman outfit! The shelf
is from Home Goods. Daddy and I made the Spiderman
bank for you at Paint a Piece. And the cute little card was made by
my friend Kim. 

 I made your mobile for you using yarn, felt, hot glue, and thread.
I hope you like it!


We are using my old dresser from when I was a baby for your dresser
and changing table.
We added a special touch by painting three knobs...
SpiderMan

 Superman
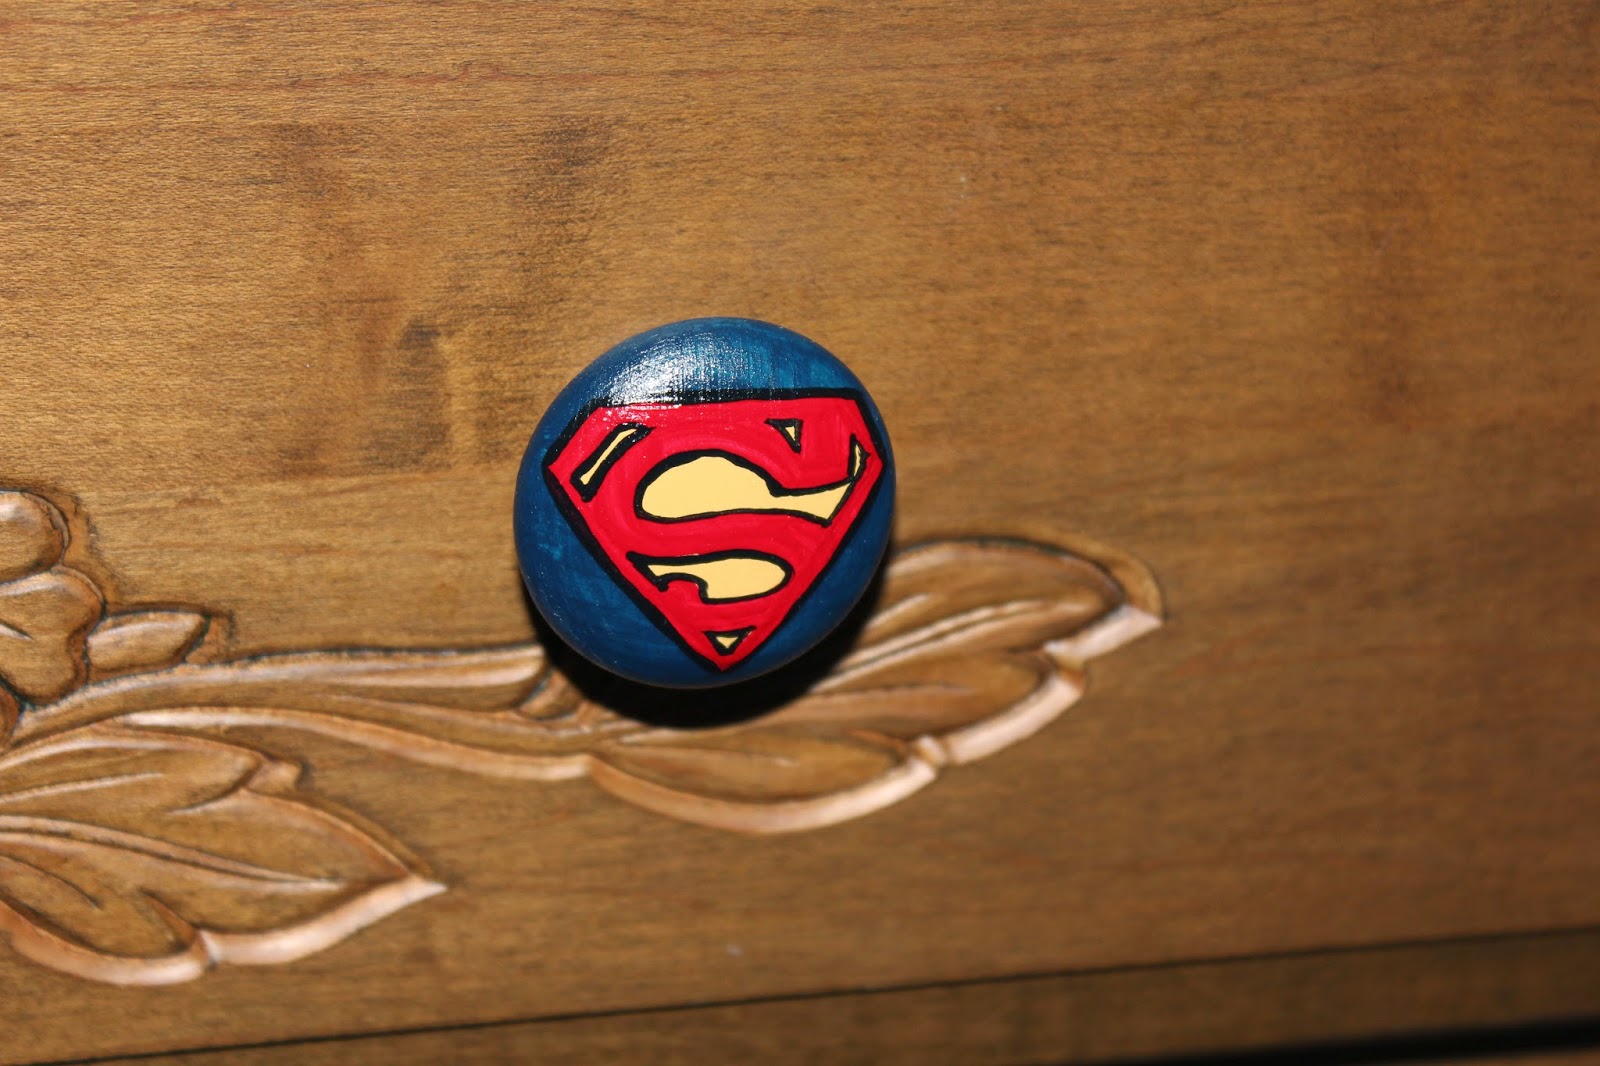
 Captain America

 This was simply just printed off of the computer and framed.
Frame is from Target,

Your crib was Mommy's, Aunt Jacqueline's, and Uncle Joe's
when we were babies.
Bedding is from Restoration Hardware.
The letters are from Sheffield's Antique Mall.
The lamp shade is from The Lamp Shade Store in memphis
And the sweet banner was made by my friend Lauren.

Pictures of Daddy

Superhero Wall! I will add pictures of you to the clipboard
and shadow box. The camera monitor will be hung up in the corner soon too.


The pillow was from an Etsy store. The blanket was from Restoration
Hardware too.


The little green tractor was a gift from Cousin Wilson...He can't
wait to meet you!!
The chair is from Wilson's Furniture in Collierville
and the rug is from Target.
"G" painted and stained the wooden crates and Daddy turned them
into a shelf.


Okay Ben, we are ready for you!!! Any day now....

Wednesday, May 29, 2013

And It's SummerTime!

I haven't posted since December! What have we been up to? LIFE! Life has been crazy, but the good news is...Its' SUMMA'TIME! 

My last post was about the craft room. And yes, we finished remodeling the room that was to be the craft room. We had some bumps along the way so it took longer than planned and the funny thing is...I still don't have a craft room. We have two identical empty rooms upstairs. One of the rooms, I decided was going to be the craft room. We remodeled it: scraped the walls, scraped the ceiling, installed new base board, installed crown molding, added 4 new lights. Chris decided when we finished that it should be the "baby room". Don't get excited, no baby yet. So we are leaving that room, for a future child. The other empty room will be my "craft room." So temporarily, it is set up just like my old craft room. Here are pics of the updated "future baby" room. (PRAYERS WELCOME FOR A BABY) 
Very clean and nice!


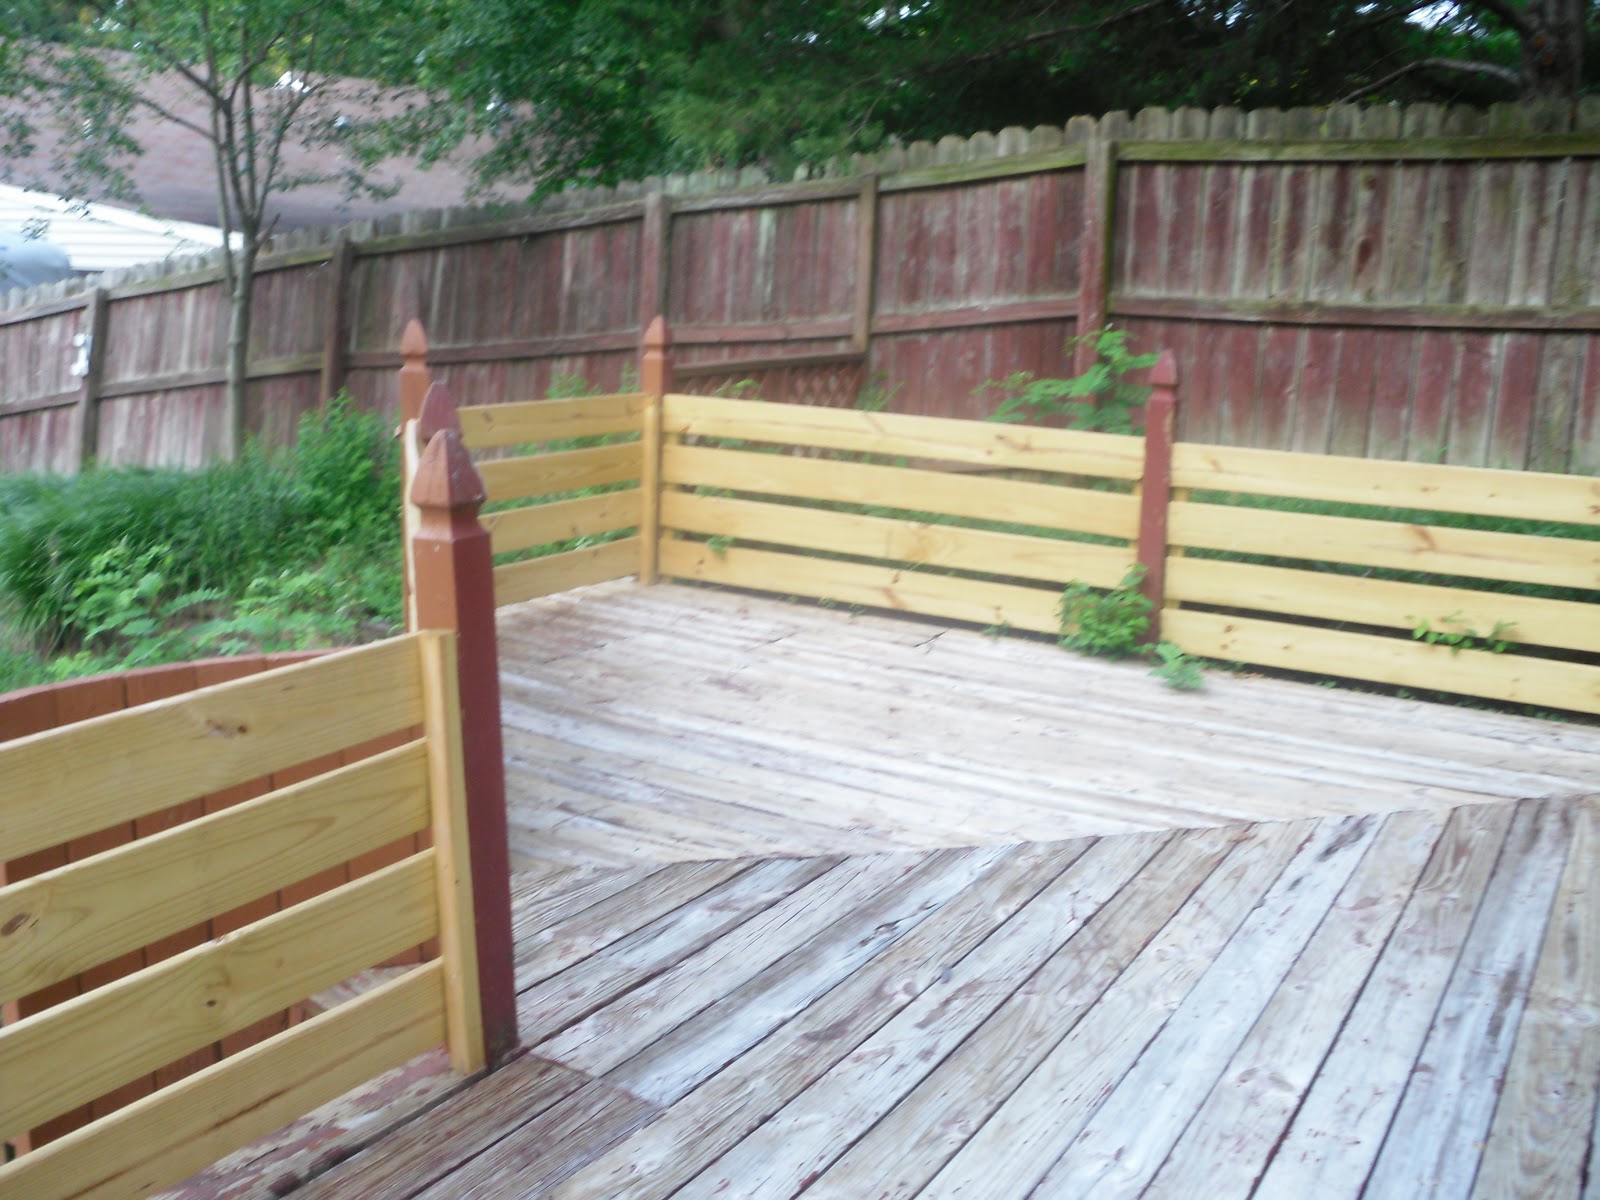
In the meantime, what else have we been doing? Yes, of course, another project. BACKYARD MAKEOVER! Our backyard was a hot mess when we moved in and slowly over time we have been working on it. The guy before us used to park his Bronco in the backyard and had a dog that tore up everything. I can only imagine what he used to do in the backyard based on the things Chris has dug up during this process....BB gun, beer cans, tennis balls, etc.

Here is a pic of our magnificent backyard when we moved in.....

Rotten deck


Random mini-fence around the pool...

 Overgrown weeds, ugly deck, and random fence, not to mention rotten railroad ties...

A few years ago, we tore down the random small fence, and eventually we tore down the deck. It still did not look very nice though.

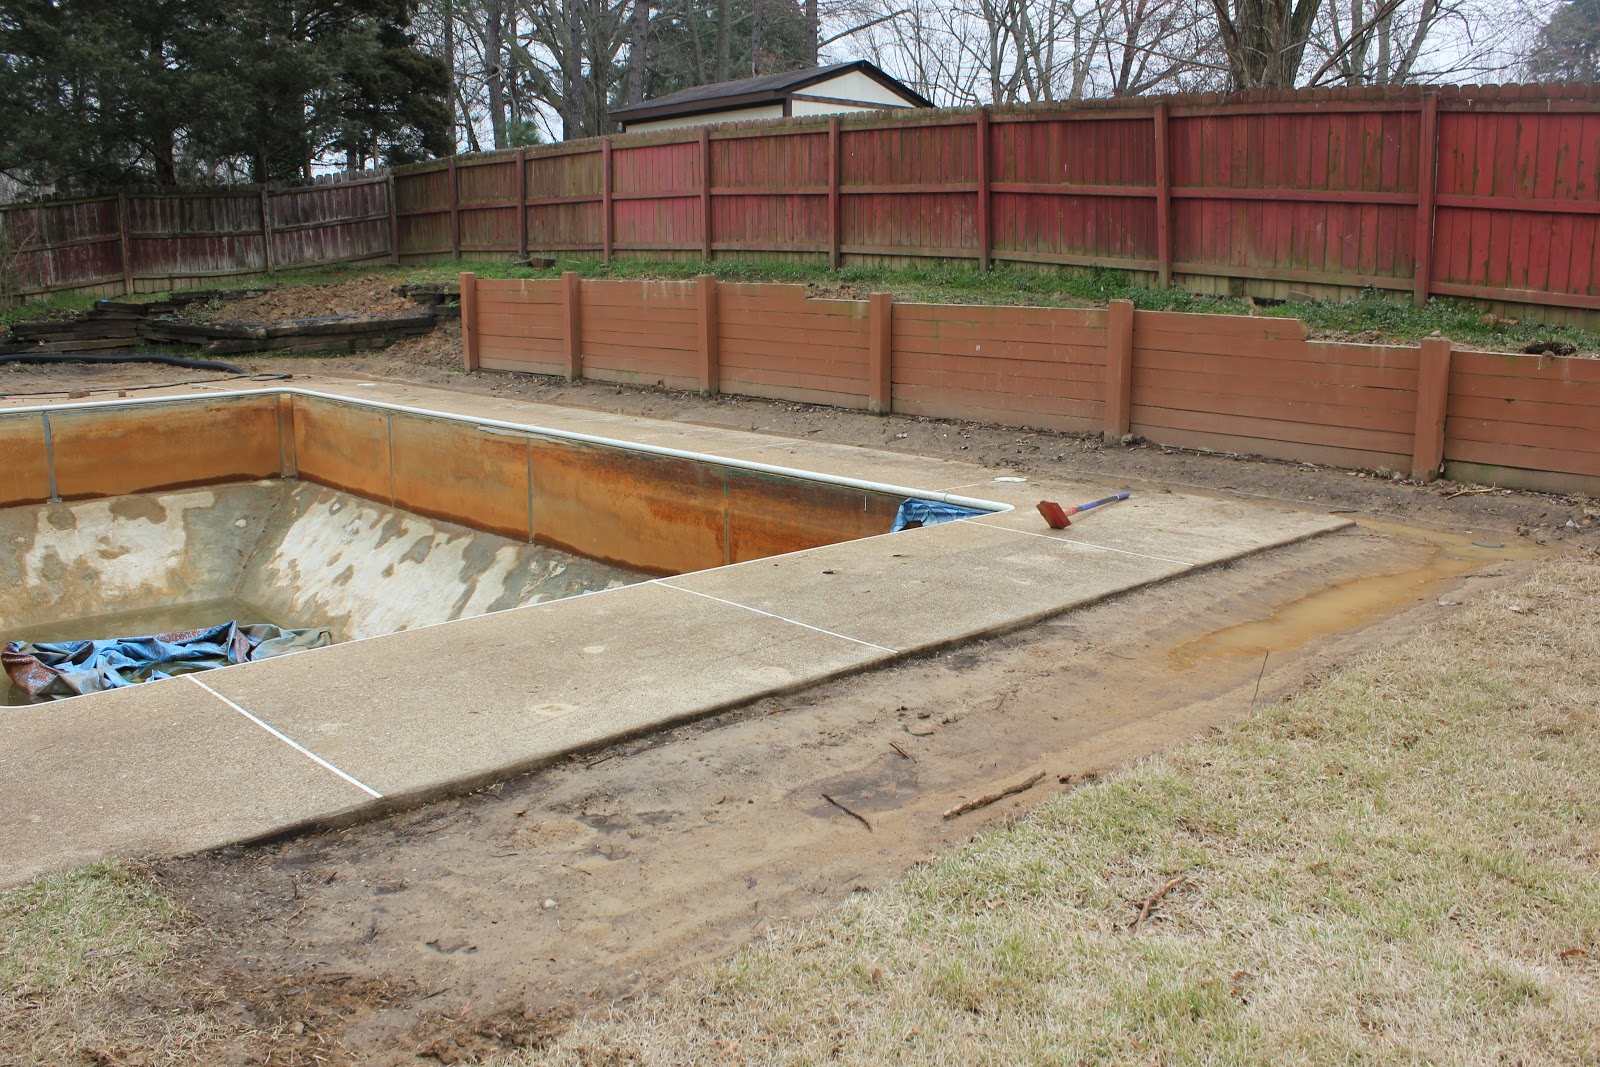
Here is a pic before we started remodeling the backyard this year. Oh yeah, we also had to redo the pool. Who builds a pool lower than the ground around it? We had to redo the entire backyard. A lot of the work that was done you can not see because the main bulk of it is piping that Chris installed underground for drainage.
 Want to swim?!


We are finally coming to an end on this project, I finally have our screen porch back and we can walk in and out of the backyard without being covered in mud. I would say we are about 85% done now with our backyard. The sod goes in next week and Chris has a few more small things to do before we are 100%.  We will paint the fence and retaining wall in the fall. So here it is now! I'm in love with our backyard. Also, I must send a shout out to All Clean Pools for doing a fabulous job on giving our pool a complete makeover!

AND TA-DA! OUR BACKYARD NOW....
excited for the grass to come next week & Bentley is too.


AND A HUGE SHOUT OUT TO OUR FRIENDS THAT HAVE HELPED US ALONG THE WAY.... DAVID,BEN, KENT, KEN, & JOE!

Monday, December 31, 2012

Craft Room Underway....

So here is how this all started....
In my spare time on pinterest over this holiday break....
I decided I wanted to paint the walls of the craft room....
and it turned into something bigger than just painting.

Chris decided we needed to strip the walls. I am not arguing with that though.
Once we got going on the walls, we discovered there were several layers of paint and wallpaper and border. There was....pink, brown, hunter green, mint green, flowers, sports gear, and khaki color on top. Let's just day that room was bigger when we finished.
Here are a few pics of the before, during, and after of stripping the walls.
 Before...boring craft room
 Beginning to strip the walls
Walls finally finished...no more 1970's wallpaper or paint

Then after stripping the walls we decided that we should just go ahead and scrape the ugly popcorn ceiling. This was very messy, but well worth it, and very easy.


 Bye Bye Popcorn ceiling. We can't have you in our house anymore.
 Scraping the ceiling
All finished!

And so this is where we are now. Bare walls, Bare ceiling. Makes me happy. It is like a blank canvas just waiting to be painted. But first, we have to do some more prep work to the walls. And Chris has decided to add some more lighting to the room.

This hard work will pay off soon :)

Happy Remodeling,
Chris & Jane

Sunday, September 23, 2012

Drop Cloth Curtains

I love spending the weekends catching up on Pinterest projects and other crafts I have been dreaming about....especially when they are SUPER cheap and easy projects. 

The hardest room to decorate in our house has been our living room because it has a fireplace on one wall, a huge window on the other wall, and doorway openings on the other walls. It is one of my favorite rooms....but it has been tricky to arrange the furniture in it. 

I decided the room needed to be "dressed up" with some curtains. Well, of course, on a budget I can not just go buy luxurious curtains. And of course, I always try making everything myself before I buy. I found how to make drop cloth curtains on Pinterest....they were so easy to make!

Here is what you need:

Two 6' X 9' drop cloth panels from Lowes (about 20 dollars for both)
An iron/ironing board
Patience
Curtain Rod
Curtain Clips

All you have to do is IRON, IRON, IRON until all of the creases are out of the drop cloths. Then, since we have 8 foot ceilings, I folded the top of the drop cloths over about a foot and ironed a crease into them. Then, I simply hung them up by the clips! I love them (especially since they were only $20...can't beat that!)

I also made the tiebacks on the curtains with scrap burlap.....


I cut two strips of burlap, ironed the edges over to make smooth creases, and the hot glued the edges down. Then, I added 3 rosettes to each and attached with hot glue. Easy as that! Here is the link where I learned how to make the rosettes....you have to practice on a few before you get the hang of it.